The procedure for creating cheek dimples is usually performed as an outpatient procedure.
This is a surgical procedure that requires the removal of a thin circle of tissue from the inside of the cheek lining. This is done by cutting out a portion of the mucosa (inner cheek skin). This area of missing tissue is then stitched together using quilting and absorbable sutures. The stitch goes through the cheek muscle on one side of the circle of missing tissue, then through the dermis layer of the skin and finally back through the cheek muscle on the other side of the circle. A surgical knot is tied, and a dimple is created.

Deep dimple – this dimple shows at rest (above) and at animation (below).

The Art of Creating a Dimple
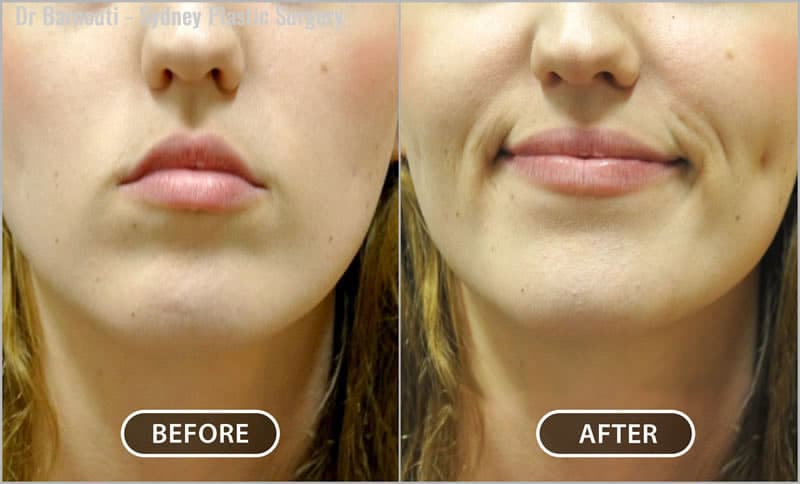
The key point is to ask the patient if they wish to have the dimple at animation only (when they are using the facial muscle) or at rest and animation (to be seen even if the patient is not using their facial muscles – that is, they are in a resting status).
The animated dimple tends to be a shallow one. The resting and animated dimple tends to be a deeper one.

Shallow dimple – the dimple shows only at animation.
This blog post is an excerpt from Dr Barnouti’s book “Your Guide To Modern Plastic Surgery: How To Enhance Your Natural Beauty And Avoid A Plastic Surgery Disaster” which is available now on Amazon.


